Posts filed under ‘affordable craft’
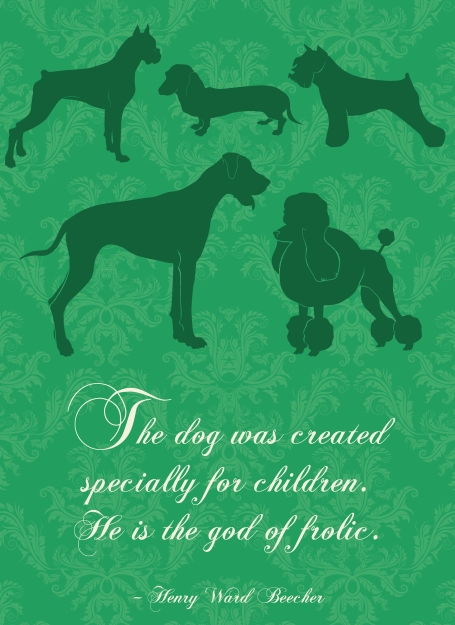
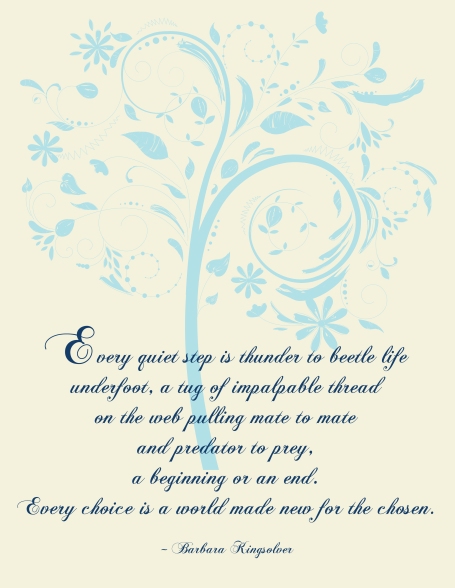
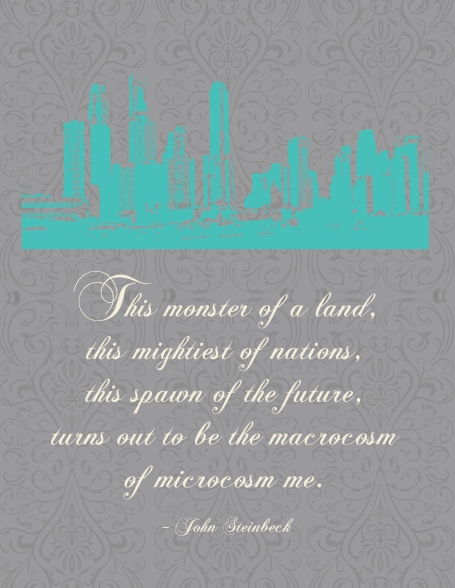
I’m loving playing with Illustrator. Here are some more wall art pieces I’ve worked on – 3 more to go to replace all of the photos I have in mind. 🙂


39.768605
-94.846632
April 21, 2011 at 6:39 pm
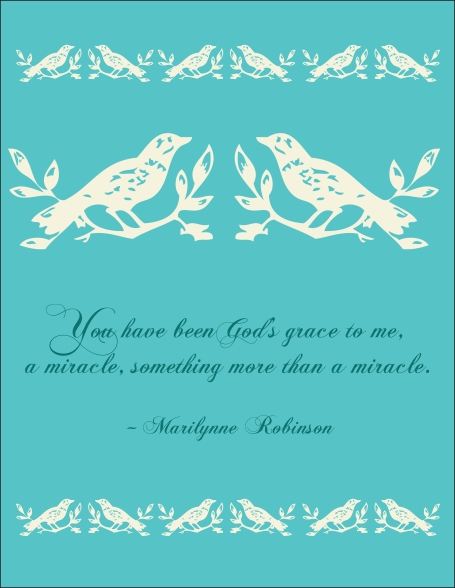
So the embroidery attempt is still a work in progress. Yay, Illustrator!
![birds [Converted]](https://mallorymurray.files.wordpress.com/2011/04/birds-converted1.jpg?w=455&h=625)

39.768605
-94.846632
April 20, 2011 at 9:00 pm
So I’ve vowed I must learn how to embroider. I have sweet images filling my head of our future kids having framed art on the wall that’s been hand embroidered. I might be the only person alive thinking about these things.
But here’s what I’d love to embroider. Have any of you read Gilead by Marilynne Robinson? It’s one of my all-time favorite books and sheer poetry when talking about family.
“I’m writing this in part to tell you that if you ever wonder what you’ve done in your life, and everyone does wonder sooner or later, you have been God’s grace to me, a miracle, something more than a miracle. You may not remember me very well at all, and it may seem to you to be no great thing to have been the good child of an old man in a shabby little town you will no doubt leave behind. If only I had the words to tell you.”
I’m not even a mom yet and this part always makes me cry.
Or I picture this, with a sweet outline of a child in a yellow rain coat:
“Well, but you two are dancing around in your iridescent little downpour, whooping and stomping as sane people ought to do when they encounter a thing so miraculous as water.”
Or this:
“… but it’s your existence I love you for, mainly. Existence seems to me now the most remarkable thing that could ever be imagined.”
Or lastly, this, which also makes me cry. Truth be known, my husband and I have been trying to get pregnant for quite some time and it’s been a long, difficult road. So this quote also makes me a bit teary-eyed:
“You see how it is godlike to love the being of someone. Your existence is a delight to us. I hope you never have to long for a child as I did, but oh, what a splendid thing it has been that you came finally, and what a blessing to enjoy you now …”
OK, enough sap for today. But stay tuned for future embroidery projects, assuming my hands are able to pull this out. And dear readers, you should definitely read this book, if you are so inclined.
39.768605
-94.846632
April 12, 2011 at 5:19 pm
After a break from sewing and quilting recently, I was back with full force in an effort to go through my stash. My goal was to make a quilt entirely out of existing fat quarters in my stash, and I was worried the fat quarters wouldn’t entirely go together since they weren’t super matchy.
I was surprised how well the multiple colors and patterns ended up working together. As the snow fell in January, it was nice to have such a fun, happy quilt to work on.

I have come to realize I’m not much of a pattern quilter. I would rather pull together a bunch of small amounts of fabric I like and come up with something.
Here’s how this came about: This quilt is made up of different strips. The long, skinny strips are made up of 8 4 inch X 9 inch strips sewn together. The thicker strips are made up of a huge collection of strips cut to 10 inches wide and a variety of different heights ranging from 1 inch to 10 inches. I kept sewing little strips together until they all ended up at about 65 inches long. I made 7 of the 4 inch wide strips and 6 of the 10 inch wide strips. Then, I made 2 strips of 4 inch X 9 inch strips and sewed 10 of them together to create the two end caps of the quilt, trimming to fit.

The finished top is about 75X75 inches, and made up of 20 different fat quarters (there are a few scraps remaining that will go into the back).
I can’t wait to have it quilted and have it cheering up the foot of our bed.
39.768605
-94.846632
February 10, 2011 at 6:28 pm
Oh, hi blog. This is about the 20 millionth post I’ve started with an apology for neglecting this blog, and I realize I shouldn’t do this again. But this has been serious neglect, and I am sorry.
The problem started when I was making fun things for the holidays. I was eager to post about them, but then I realized that people who would be getting the gifts would also be reading the blog. I thought about scheduling posts for later and then realized, who wants to see homemade stockings in January?
So there we have it.
But I had been busy, oh so busy. Here’s a sampling of crafts and food made in my too long absence:
– A quilt top for my mom. Which I completely forgot to take pictures of. Sadness.
– A scarf for my mom. (it was a homemade holiday theme, which will become apparent soon)
– These adorable magnets for many people.
– Some really cute homemade stockings that were quilted with lots of scrappy butterfly and bright fabrics. I really wish I had taken photos of these, but when I pull them out next Christmas I will. I made one each for: my husband, myself, our dogs, our rabbits, my mom, and her dogs. Yeah, I’m cool. 🙂
And then I went on a crafting hiatus. Something about deadlines looming for Christmas gifts had me overworked creatively and I spent most of Christmas break vegging on the couch. But that’s OK.
Food items:
– An awesome coworker lent me a bread machine that I may or may not be keeping. I tried all kinds of things with said bread machine: regular white bread, amazing cinnamon rolls, garlic Parmesan soft pretzels, tuscan herb mashed potato bread (times 3. Soooo good). So be on the lookout for some bread machine recipes shortly.
– 6 quart-sized jars of homemade slightly spicy bread and butter pickles. Mmm …
– Pumpkin cheesecake with oreo crust
– Apple spice cake with pumpkin cream cheese frosting
– Homemade chicken bacon macaroni and cheese (So good but vowed to never make again)
And probably more. I hope you dear readers have not given up on me. Many posts to come with new recipes and a glimpse into our future animal-owning plans. Hold your horses. 🙂
39.768605
-94.846632
January 21, 2011 at 4:57 pm
So if you read many craft blogs, you know that others have been preparing for Christmas since, say, July. I am not that kind of crafter.
Instead, I’ve been searching for Christmas ideas for easy crafts to make, with existing fabric. Times are tight in our house and I need something I can make for gifts for people, with my existing stash.
For others in the same situation, I’m including links of possible project ideas, so you can benefit, too!
I am really loving the idea of some homemade Christmas stockings. Here are some patterns/ideas I’ve found online:
Moda Bake shop pattern
Martha Stewart stocking
Easy pincushion for sewing friends
A rag rug
Adorable fabric house – I am super excited to try this
Cute mitten ornament
Sock reindeer stuffed animal
Lots of great softie inspiration
39.768605
-94.846632
October 6, 2010 at 4:00 pm

So the daily blogging thing comes and goes on here, as you may have noticed. Work has been crazy, life has been crazy, the house is a mess, the computer was under repair …. and to be honest, what I really needed for awhile was to disconnect from the world a bit. I love being connected. I love people. But sometimes, between Facebook, Twitter, blogs, LinkedIn, news feeds, Google Reader, work emails … the amount of information is overwhelming. Sometimes, I just need to disconnect for a bit and recharge.

What better timing and chance than this beautiful Easter weekend? Two full days of sun, warm temperatures, warm soil and a relatively free schedule. I buried myself in the garden, and enjoyed alfresco lunch with my long lost husband who has been overwhelmed with work and grad school. Weeding, pruning, planting herb seeds (slow bolt cilantro, three kinds of basil, dill, tarragon, thyme, rosemary, oregano, lavander), green onion bulbs and wildflowers. Building a partial fence around our back garden so the dogs can’t destroy it now that our backyard is fenced in. Where they previously ran rampant and destroyed, is now a beautiful black iron fence and even better, green things are returning to the garden! (Still much work is needed, so please only look at the fence :))

One dog was particularly glad to accompany me with so much time spent outside:

Back to the main theme, though: birdhouses. I was inspired when reading the April 2010 edition of Country Living and looking at the stunning gardens that were featured. One included four birdhouses, of different shapes, painted the same color and installed on stilts amidst the garden. It was beautiful. I decided I had to have birdhouses, and then about fell over when I saw the price (especially as I was wanting 5 of them).
So, I was determined to semi-make my own. Sure, you could make your own entirely from scratch, but this is much easier.

What you will need:
4 unfinished wooden birdhouses, similar sizes, with different shapes. I found mine at Michaels, where there were about 8 designs to choose from, and all sold for $4.99 regular price. (Though they were on sale for $3.99 when we bought them)
1 can Rustoleum (or similar brand) primer
1 can Rustoleum paint (I used 2 cans because I wanted 2 different colors)
1 can Rustoleum clear gloss sealer paint
1 tube water resistant epoxy glue
2 packages 72-120 inch adjustable closet rods (we found some at Home Depot. For $13, you get 2 6-foot-long poles that can be easily driven into the ground. This was much cheaper than the $15 birdhouse poles we found at WalMart, and saved us about $19 per birdhouse)
Large black trashbags
Layout large black trash bags, forming a safe place to spray paint. Put birdhouses on top of trashbag. Spray first with 1-2 coats of primer paint, thoroughly covering bare wood. Let dry for 45 minutes. Then, spray 2 coats of desired paint color, with 2 minutes of drying time between coats. Then, let houses dry an additional 30 minutes, and spray 2 coats of clear coat, with 2 minutes in between each coat. Let dry for an additional 1-2 hours.
Position poles where you would like your birdhouses to be, with the open end driven into the ground, and the plastic-capped top facing the sky. Your soil and location will depend on how far you want to push down your poles. Mine are implanted 1 foot into the ground, leaving 5 feet of pole out of the ground. With bird houses, the structures measure about 5-feet 8-inches.
After you have your poles positioned where you want them, mix water-resistant epoxy and apply to the plastic capped end of the closet rod, and to the underneath of your birdhouse where it will be attached to the pole. Attach to the pole. It can take up to 5 minutes to set, so stay near the pole for 5 minutes to make sure the house affixes. Repeat with all houses, and voila! You are finished!
(Pardon the terrible lighting in these photos)


39.768605
-94.846632
April 6, 2010 at 7:49 pm
Oh, the powers of social media. I made a stuffed owl for my baby cousin, and her mom posted an adorable pic of the sweet baby and the owl. One of her friends saw my owl, and requested one herself! So fun, and so amazing that someone in Missouri can make something for someone in Iowa and someone in North Carolina sees the post and orders one. Small world. 🙂 I really hope she loves him – I think he turned out really cute!

39.768605
-94.846632
February 27, 2010 at 10:48 am

Finished project
I have been anxious to make a tablerunner for our coffee table, which may or may not have some paint splatters on it. *Ahem*
I made a very simple one that is a great use of fat quarters in your stash – I used 5 fat quarters for the front, the remnants of those 5 fat quarters and scraps from my stash for the back.
Here, a step by step guide.
1. Choose 5 fat quarters that have a complementary theme. Iron fabric.
2. From each fat quarter, cut 3 4-inch by 18-inch strips.
 3. Lay strips by color side by side. Grab one strip from each pile. This is your first set. For the next set, start with the second pile in and grab five, making the first strip be your last. For your third set, pick the strip from the third pile to start your pile. So your piles will be in this order: 1,2,3,4,5; 2,3,4,5,1; 3,4,5,1,2.
4. Sew the five strips in your new piles together. Spread seams open, iron flat. You should have three sets when you are done, measuring about 18X18 inches after seam allowances.
 5. Cut 4 inch wide strips from fabric (in the direction that will make 4X4 inch blocks of 5 colors, all sewn together). You should be able to cut 4 from each of the 3 panels, leaving 12 strips and small scraps of fabric at the end.

Cut strips will look like this.
6. Pick a pattern to make with these strips. For our table runner, I did 1,2,3,2,1,2,3,2,1. This left me with three strips leftover, which I used on the back. More on this later.
Sew strips together. Open seams, press flat.

 7. From leftover fat quarters, create border. For the skinny edges, I cut 2 strips that are 4 inches by 18 inches, 1 each from 2 of the remaining fat quarters. This made the long side 39 inches long, so I cut 13.5 inch X 4 inch strips from the 3 remaining fat quarters, 2 from each colors. I staggered the colors for the edge so that the same fabrics weren’t right across from each other. Sew on sides, open seams, press flat.

Your top is done!
8. Make your backing. For the back, I pieced leftover strips and leftover scraps of fabric until I created a top that measured the same size. For a less time consuming alternative, you can just do one solid fabric backing. If you choose to piece as you go, then you have a reversible table runner.

Randomly pieced backing
9. Place right sides together of both front and back, pin together. Sew around all 4 sides, leaving three inches unsewn in order to turn right side out.
10. Fold in edges of remaining three inches, sew shut either by hand or machine. Sew around the runner 1/2 inch in from the edge to finish. And you’re done!


Finished backing

With table decorations

Reversible back with table decorations
39.768605
-94.846632
February 26, 2010 at 7:54 am
I don’t know if you have noticed, too, but button necklaces have been popping up everywhere. I’d seen them all over Etsy, and in the windows of the fabric store in downtown Maryville. I’ve thought about making them but hadn’t gotten around to it. When I saw it on this blog, I finally decided it was time. It’s the perfect mindless task while watching TV. Plus, I already had all of the supplies – score!
I used white satin ribbon instead of cord, because I had it on hand. I also made a crazy long necklace – I can wear it with one loop down past my waist, or a double loop or a triple loop – the triple loop is my favorite. It would also make a super cute garland for a small tree.


I’m not really sure this necklace was business suit/job appropriate but … meh. You have to have some fun, right?
39.768605
-94.846632
February 22, 2010 at 6:40 am
Older Posts


![birds [Converted]](https://mallorymurray.files.wordpress.com/2011/04/birds-converted1.jpg?w=455&h=625)


